Sewing: From Summer to Winter in One Pattern

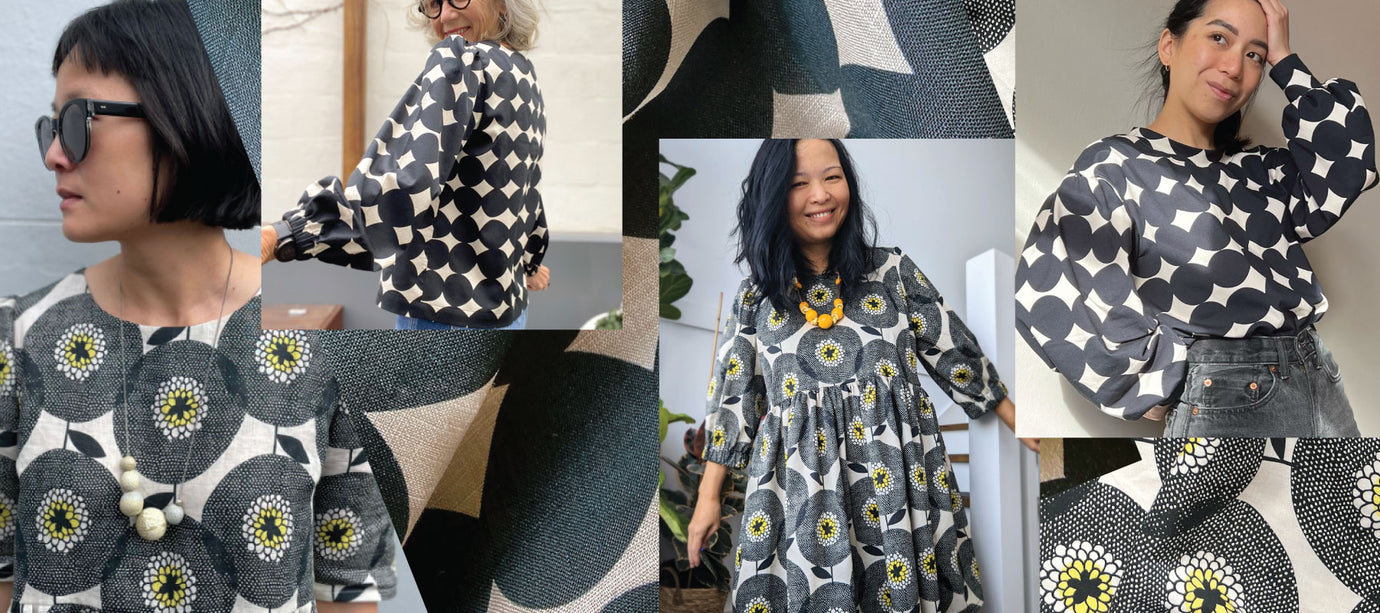
From the first time we introduced the Shell Top pattern, it stood out as a base for many hacks to come. With the cooler months fast approaching it is the one that we thought we could utilise for jackets, vests and outerwear.
Heather Jameson (@_heathermade) was quick to put up her hand to switch up the top into a jacket.
Here are Heather's steps:
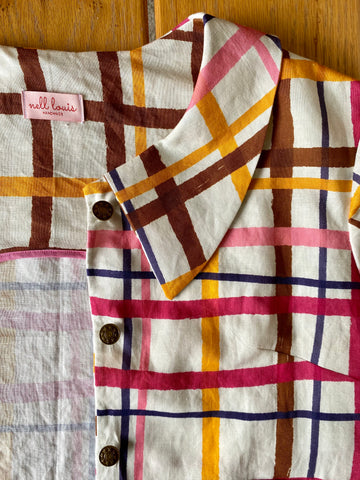
I really love the versatility a good bodice block allows. The Shell Top pattern lends itself to get creative with hacking, in that it has a great neckline for a collar, facing pieces to take out a lot of guesswork and flattering darts that add shape, without compromising the ease of the garment. I’ve been seeing a lot of variations on the chore coat or artist jacket in ready to wear collections. As soon as I saw the fabric I’d be working with, a jacket was the first thing that sprung to mind. It adds a perfect light layer, coming into autumn (or spring for those in the northern hemisphere!) and I’m sure to be seeing this colour palette a lot in the coming months.
In this hack I have incorporated the sleeve piece from the Nerida Hansen Puff Sleeve blouse, which I found to fit the armscye of the Shell Top perfectly. A simple modification of the sleeve means I could take out as much volume as needed for the look I was trying to achieve. I recommend working on a toile for this hack to ensure you’re happy with the sleeve and collar pieces.
- Cut or trace all pieces for the Shell Top and the sleeve piece from the Puff Sleeve Blouse. I opted to size up to allow extra ease over other garments. I have used size 18 in this hack.

- To create a collar pattern, take the front and back bodice pattern pieces and position them on your work surface together at the shoulder seam. Measure and mark two centimetres from the top of the back shoulder at the sleeve edge and overlap the front bodice shoulder to this point.

- Place a length of tracing paper over the two pieces and trace around the neckline, being careful to keep pieces together. At the centre front, draw the length of your desired collar tip (I drew this freehand, but have since discovered this is a 20 degree angle, if you want to be more specific!), making sure to account for your seam allowance. I chose a length of around 12.5cm for my front collar tip but you can go nuts here and go full “statement collar” if you wish! Then, at the centre back point, measure your desired collar depth - making sure to include your seam allowance (I chose 7.5cm). Finally, as accurately as possible, join the two points with a curve. Again, I chose to draw this freehand, but if you have drafting tools they will definitely come in handy here!

- To create your sleeve, take your Puff Sleeve Blouse piece and fold it inwards from the tip of the underarm edges to the cuff. Take some tracing paper or toile fabric and trace the new seam edge, taking the measurement right down to your wrist point. I found that using toile fabric was easier, as I was then able to baste this piece together and try it on. Full disclosure, once I had completed my jacket I decided to take some extra volume out of the sleeve, as I found it was a little wide for my liking.

- We now need to make a front button placket. To do this, I measured the length of the bodice and elongated the front facing piece then joined the original piece with a curved line. Note that you also need a seam allowance on this piece at the centre front. Interface the front facing along the button placket only - I chose not to interface around the neckline, to reduce bulk in the final garment due to the inclusion of the collar.
- Once you have these alterations, its time to grab your gorgeous fabric and get cutting! Remember, you’ll need to cut the back piece on fold (removing the seam allowance) and add a centre front seam allowance to your front pieces.
- From this point on, you can follow the pattern instructions, disregarding the centre back bodice and facing seams and keyhole openings. At the point where the back facing is finished with an overlocker or zigzag stitch, I opted to bind this edge to add a nice feature when the jacket is hanging unworn. Once you have completed these steps, it’s time to work on your collar.

- Take your four collar pieces and interface the two that will be presented outward. Then, join these two pieces at centre back and repeat with the two un-faced pieces. Carefully pin these two collars, right sides together, matching centre back seams. Sew around from the centre front, pivot at the front collar tip and around to the other side at the centre front. Clip corners and curves and flip to the right side. Press well and marvel at your gorgeous creation (trying your collar on and admiring your handiwork in the mirror 100% necessary here).

- Take your lovely collar and pin it to the neckline of your front and back pieces. Ensure there is at least 1cm from the centre front to allow for your facing seam allowance and the overlap when buttoned up. Machine baste around the inside edge of collar within the seam allowance.
- Continue from Step 8 of the instructions, which will sandwich your collar between the outer front and back pieces and facing pieces. You will need to start this step by pinning carefully around the neck, matching shoulder seams and centre backs, as well as matching your centre front facings which will become your button placket.

- Now it’s time to add sleeves! I really wanted to make the burrito method work for the sleeves, and it was lovely on my toile until it came time to sew the side seams. Instead, I opted for these steps instead: Take your sleeve pieces and add two rows of gathering stitches between notches at the shoulder. With the right side of your jacket up, place sleeve right side down at the shoulder seam, matching the centre notch to the shoulder seam. Pin at both under arm points and ease the sleeve in with the gathering stitches, being careful not to actually ruche the shoulder (unless of course you’re wanting a ruched shoulder!). Pin and then stitch around sleeve, clip curves and finish with your desired method.

- To give my jacket the characteristic chore coat look, I added patch pockets to the front pieces. My pockets measured eight inches by six inches, with a one inch fold at the top opening. There are many tutorials available for patch pockets - I recommend choosing your favourite method and having fun with adding as many pockets as you like!

- Finally, it's time to bring everything together with the side seams. I wasn’t able to use the method explained in Step 14 of the instructions, so instead I pinned together the sleeve from the wrist, down to the armpit, joined the facing and the front pieces together right down to the hem. I finished with an overlocker and the result is a nice tidy seam.

- The final steps to complete your jacket are to hem the bottom and sleeves, as well as add your front closures! I chose to add metallic shank buttons to give more of an “outerwear” look, but this hack would work really well with a zipper for a bomber jacket style. For the bottom hem, I created a tidy button placket hem by placing right sides of the front piece and the facing together, measuring two centimetres from the hem and sewing across the bottom of the facing. Once turned right side out, this allows for less bulk at the centre front at the bottom hem and the ability to turn my hem up twice for a clean finish.

I hope you enjoy this hack - I know it seems like a lot of extra steps, but really I urge you to challenge yourself to add outerwear to your sewing repertoire. Not only is it incredibly satisfying to make your own coats and jackets, but the variations in length and style, weight of fabric and prints are endless!
Heather is often found on our socials - hacking and sewing! Follow along for tips and inspo.
Previous article

Next article