Sewing: Two-Piece Coordinated Outfit from Miss Moresby

Heather Jameson (@_heathermade) has been at it again, but on this occasion she has completely outdone and out-hacked herself with a two-piece coordinated outfit.
Matching sets with an identical top and bottom are well and truly having their time in the spotlight, and as a lover of the suit we could not be more satisfied with this trend. It also solves the dilemma of what to wear with what - the choice is done for you!
Heather embraced our sewing challenge and her end result is a knockout. Read on to replicate:
Two brilliant patterns of course! The construction of both were fantastic and I learned some new skills as I went. The below are the modifications I made to each pattern.
Culottes - the only modification I made was raising the waistband to make an ultra high-waisted, ribcage version. This is my favourite style to wear, as I find it flattering on my curves and elongates my shorter legs.
- Cut pattern pieces as instructed.

- Taking front leg piece, measure and mark a straight line from the bottom of the pocket notch (as indicated in image 1).

- Lay the front leg pattern piece over back leg pattern piece and align the bottom pocket notch with the corresponding notch on the back leg piece (see image 2). Measure and mark a line straight across on the back leg piece, as you did on the front leg.

- Carefully cut along these lines. Lay front leg - now in two pieces - on a spare piece of pattern paper, paying close attention to continue the arrow of the grain-line so they remain lined up (see image 3). Separate pieces to your desired rise measurement. I chose to increase the rise by 10cm. Repeat this process for the back leg pieces and secure with tape. Note: If the crotch curve is slightly uneven, straighten this out by drawing a continuous curve from the crotch to the waist.
- Continue with all pattern instructions. I found that I did not need to make any other alterations, but you may need to pay attention to how the pleats sit, as well as the elastic measurement for the back waistband. I was pleasantly surprised that these remained pull-on pants, without the need to add a zipper! I recommend making a toile to check the fit prior to cutting your intended fabric.
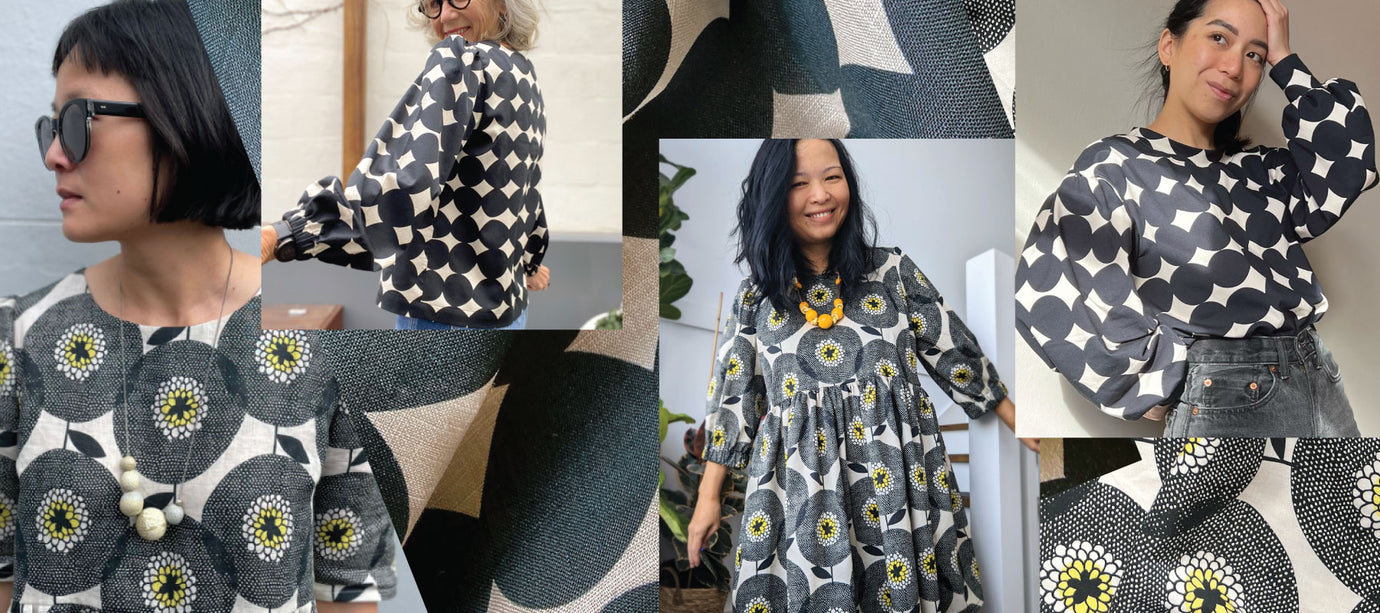
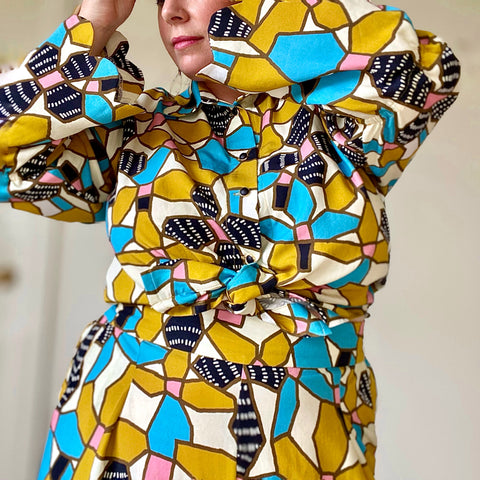
Everyday Unisex Shirt - I had a lot of fun with this pattern and can’t wait to make another variation! For this version, I added a scalloped collar and cuffs, trumpets sleeves, as well as some added volume at the shoulder.

- Cut all pattern pieces as desired for the view you intend to make. My version was the scooped hem and I chose to shorten the body using the entire allowance (see image 4).


- To create the scalloped collar, I traced the original collar piece and, making sure to have the long side at the top (the point of the collar) I traced it in half on some doubled pattern paper. Taking a rounded object, I then traced four 6cm half circle scallops and cut it out to reveal my finished collar piece. I made sure not to make my scallops too high, as I would imagine they would fold when worn (images 5, 6 and 7).

- To add volume to the shoulder of my sleeve, I took the sleeve pattern piece and traced lines from the half points across to the first set of notches (see image 8). I then slashed the middle notch and two on either side, right down to the original hemline. Placing this piece on my fabric, I then spread each slash by 5cm and pinned in place.

To elongate my sleeve, I cut the lengthen/shorten line and extended this piece to make a sleeve was was 67cm in total (image 9). This measurement was based off another pattern I own and I wanted the cuff to extend past my hand, so I could make the bunchy sleeve effect I was looking for.
- Cut all fabric pieces, making sure that front and back shirt pieces align at hem notches (see image 10).

- I continued the construction of the shirt as per instructions but rather than sewing the standard collar, I carefully sewed around the scallops - having marked the seam allowance prior to sewing (see image 11). To give a clean rounded seam, I clipped as close to the lowest point of the curves and at 1.5cm intervals before turning out and pressing.

- When attaching the sleeve - I ran two rows of gathering stitches between the top two notches and when pinning to the shirt body, focussed most of the gathers toward the front of the sleeve (image 12).

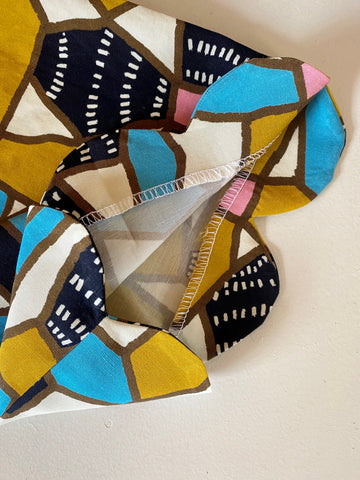
- To create the scalloped sleeve, I added a 10cm facing piece to the cuff of each sleeve - right sides together - and using the same rounded object, traced six scallops around the circumference of the sleeve (image 13). I then carefully cut each scallop, as per the collar, turned out the right way and pressed well. Some adhesive hemming web can be used to keep the sleeve hem in place.

- The final modifications I made we to add side splits at the points where the shirt hits my waist, so I have more versatility when tucking with the matching culottes, as well as adding a trumpet sleeve effect by sewing a bias binding channel below the elbow point and adding a length of elastic. I love the way I can then raise and lower the sleeves as desired for a bunchy, puffed effect.
I’m going to really enjoy wearing these two pieces together, as well as separately! The shirt is great with jeans worn tucked, out or tied - as well as being a great layering piece over a bodysuit. I also plan to make more pants with this pattern - my toile wears fantastically as well and I really love the elongating nature of the super high waist. Miss Moresby's fabrics are available at www.neridahansen.com.au.
Previous article